Part of the @xstitchtherainbow2022 Autumn Garden SAL
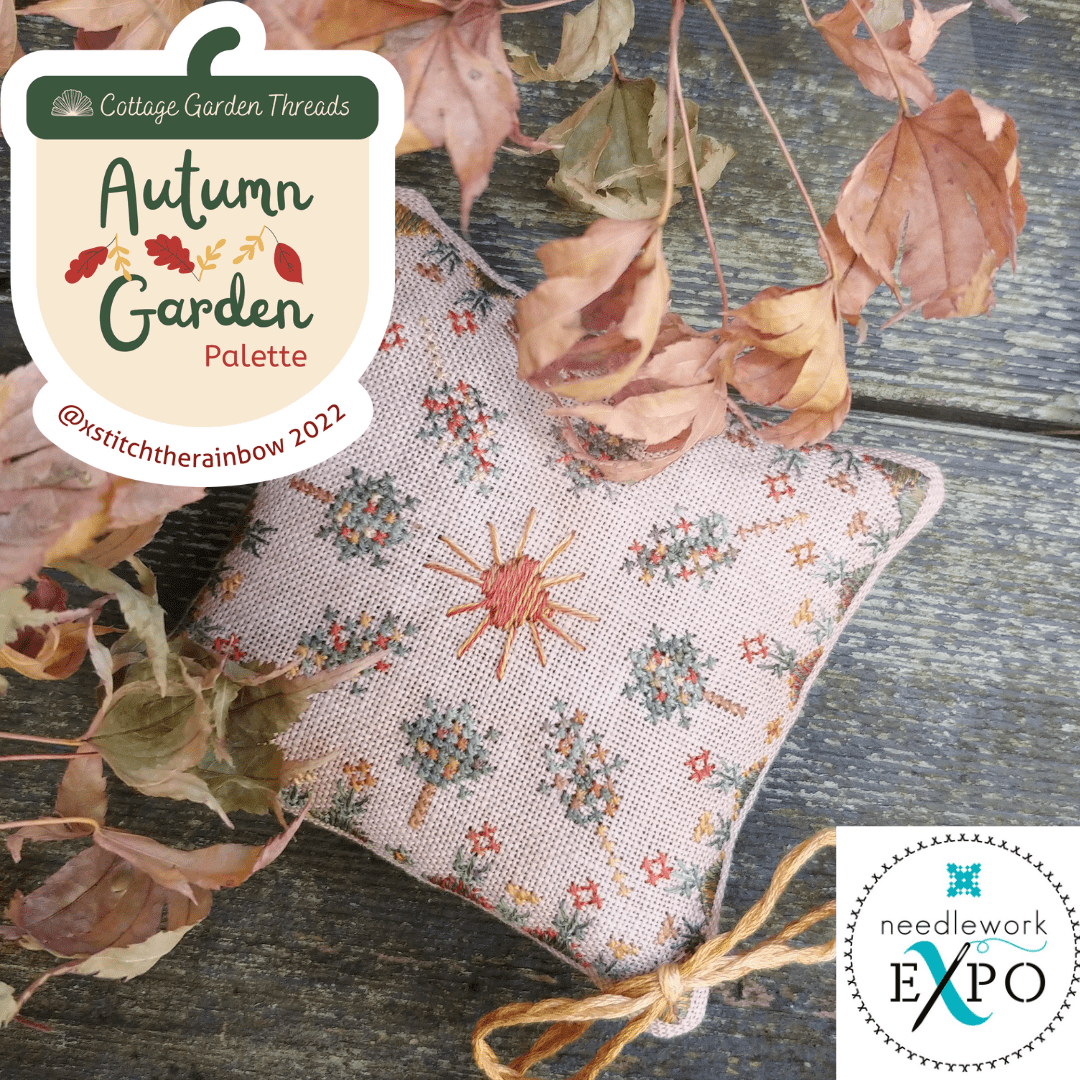
This little pin-pillow is my contribution to the Autumn Garden SAL – where 25 designers exhibiting at Needlework Expo this year all used the same palette of Cottage Garden Threads to create unique designs. Watching all the creativity shown in these 25 different designs has been so inspiring, and you can join a Facbook group or follow #autumngardensal to join in the fun.
My design celebrates that moment just as the autumn leaves start to turn – while flowers are still blooming and the sun still shining, but just as the winds start to blow and those first leaves start to colour. I hope you enjoy stitching it and creating a wonderful display of the designs in the SAL.

Stitching suggestions and finishing tips
As always, working with Cottage Garden Threads is such a joy – allowing some different effects to be created. My model was stitched on 36-ct “Vintage” by Number12StitchCo on Etsy, using the Autumn Garden Palette: Golden Gully, Terracotta, Dandelion & Spruce.
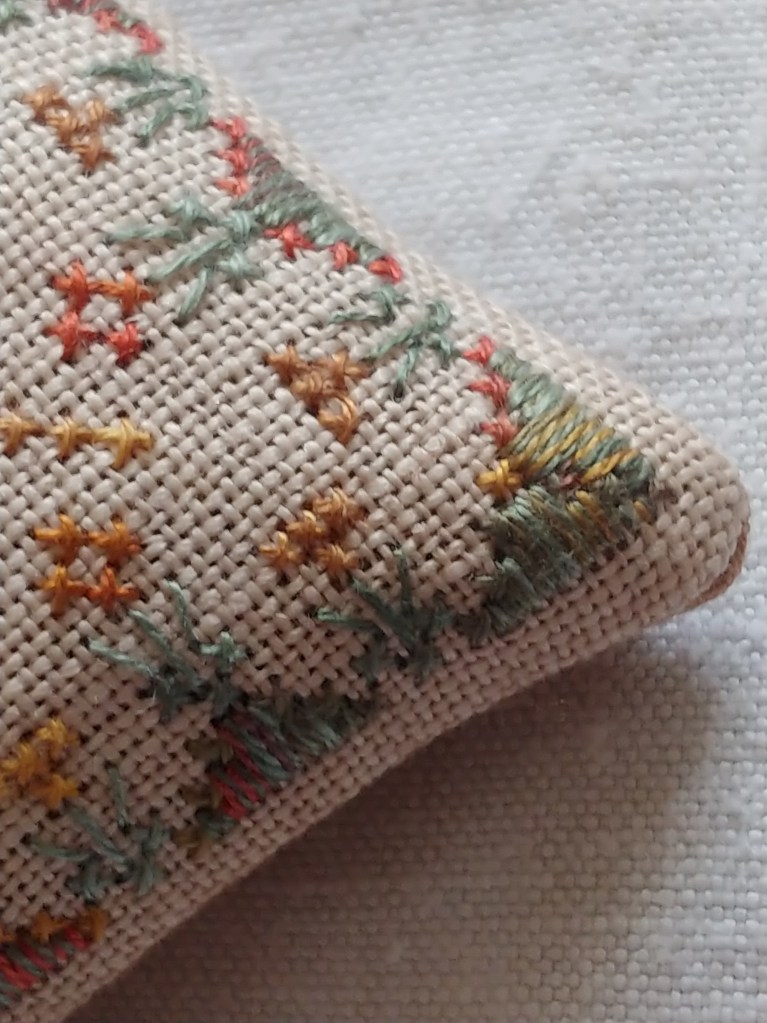
The design uses full crosses over 2, back-stitch and satin-stitch. I used 1 strand for the cross-stitch and the back-stitch for the flower stems and leaves. For the satin-stitch in the sun and little hills underneath the flowers, I used 2 strands, and also for the long back-stitches for the sun’s rays.
In these, I also used ‘tweeding’ – or using 1 strand of 2 different colours combined on your needle to create a beautiful effect. This is quite simple to do. In the sun, for example, simply take 1 strand of Terracotta and 1 strand of Dandelion and thread them together in your needle and stitch as normal. This allows for the Dandelion to soften the Terracotta slightly, and create a less-solid motif for the sun.
In the same way, the little hills underneath the flowers in the border use 1 strand of Spruce and 1 strand of Golden Gully tweeded together. I love how this turned out, as the green hills all look different, as the variegation of the Golden Gully moves.
The other technique I used in this piece was in the finishing. I took three full lengths of the Dandelion floss (just take them straight from the pack – no need to separate the strands as you usually do before stitching). I tied the 2 lengths together near one end (leaving a little tail) using a simple knot. Then, I anchored this end down (I think I just used a water bottle on my desk) and plaited the three lengths together. Then, I knotted the end (again leaving a little tail).
In the centre of this plait, I created a simple knot, then a bow based around this knot. I then attached this to one corner of the pillow using a few securing stitches, also in Dandelion. As I did, I played around with the loops of the bow, making them a length that I found pleasing, then stitching through the centre knot to secure the bow to the pillow.
At this stage, both the ends of the plait seemed a little long, so I knotted them at pleasing lengths, then cut the ends of the lengths (past these knots – make sure they are secure) and unplaiting the little tails.
This finish is optional, of course, but I thought it was a lovely way to incorporate more of the beautiful Autumn colours of the threads. Do tag me in your finishes – I’d love to see what you do!
The chart is available from stores participating in Expo now and charts and threadpacks are available from Abby at TopKnot Stitcher Shop (and check out Abby’s design too). They will be up in my Etsy store next week (mid-September).
